Whether you’re looking to transform your garage into an extra bedroom, living room, or even your very own man cave, you’ll need to replace your garage door first.
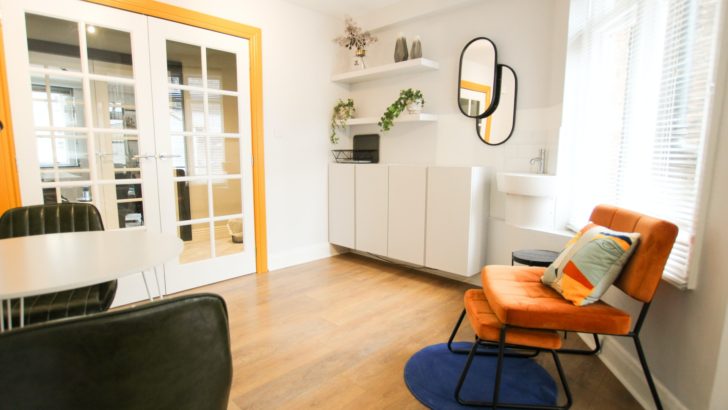
What’s better than good old-fashioned French doors that provide both elegance and functionality? Absolutely nothing!
If you’re wondering how to achieve that, you’re in luck! Here’s a step-by-step guide for garage door conversion to french doors.
How to Convert a Garage Door To French Doors
Whether you hire a professional or do it yourself, replacing a garage door is sometimes a complex, even dangerous process. The key is to plan well and follow the instructions very carefully.
Here’s how to convert a garage door to a french door in eight easy steps!
What You’ll Need:
It’s always best to make sure you have all your supplies before a big installation process. Here’s a list of things you’ll need to replace your garage door:
- French Doors
- Set of 10d finish nails
- Screw Drivers
- Pencil
- Notebook
- Studs
- Measuring tape
- Nail gun
- Safety goggles
- Gloves
- Miter saw
- Adhesive sealant
Step 1: Remove Existing Garage Door
The first thing you need to do is get rid of your existing garage door. This isn’t always as easy as it sounds! However, if you follow the right procedure, it should go smoothly.
Close the garage door from the inside and disconnect the door opener, as well as its track and chains. Then, climb your ladder and start detaching the springs that are located above the door.
Once you’ve detached the springs, you can start disassembling your garage door. Do this panel by panel. Start from the top and work your way down to the lowest panel until the door is entirely removed.
Step 2: Measure for the Frame
To get the frame dimensions, measure the distance between your French doors and the garage opening.
An easy way to do this is to measure both the garage opening and the French doors. Then, subtract the French door measurements from the garage door opening measurements. Finally, divide the result into two.
Write all the measurements down in a notebook. These should help you build your door frame.
Step 3: Create Your Door Frame
Using the measurements you took in the previous step, start building your door frame.
Your door frame should include the standard sill plate, top plate, bottom plate, and studs. Using a power drill, attach the sill plate to the floor. You want to make sure it’s nice and secure.
To avoid any height issues, you want to make sure you measure everything carefully. For example, using shims can help you achieve perfect leveling.
Step 4: Install Studs
It’s important to leave room for studs. They should be installed on both sides of the door.
Cut a few inches off the top plate using a miter saw so that the studs and the ceiling fit perfectly. The studs should go between the sill plate and the top plate. This ensures that both sides of the door are equal in height.
Once everything looks even, start nailing the studs into place using a nail gun.
Note: Please keep your safety goggles on at all times, especially when using a nail gun or a miter saw.
Step 5: Inspect Your French Doors
Before installing your French doors, make sure you inspect them very well.
For example, if you bought your doors online, check for any visible damage that may have happened in the shipment. You should also confirm the color, as well as the height and width of the doors.
Before the installation process, take out your measuring tape and double-check all the measurements of the doors and the opening. This saves you a lot of time and effort instead of having to remove the doors due to incorrect sizing.
Step 6: Install Your French Doors
Finally, it’s time to install your French doors.
Depending on the model, your doors should come with an installation manual as well as hinges, screws, and other parts needed.
Start by adding some adhesive to the bottom part of the frame, where the doors will be installed. This helps the door stay in place and also provides additional insulation.
Place the doors right in the center of the frame. Check for the markings on your doors. These are where the hinges and screws go. Use your nail gun to screw them into place.
Complete the rest of the installation by following the user’s manual.
Step 7: Check Your Doors
After installing your French doors, it’s important to make sure that everything works correctly. For example, open and close the doors to ensure that they aren’t hitting the frame, or rattling in their place.
Complete any adjustments if needed.
Step 8: Complete the Look
This is when it all comes together.
After everything is set, install a trimmed baseboard between the new doors and the garage opening. You’ll quickly notice how cleaner and more professional your doors will look.
The baseboard will surely give your doors that sleek, French appearance.
And voila! Your installation is complete.
Do I Need a Permit to Convert My Garage Door to French Doors?
The short answer is yes. In most cities, you need a permit to replace your garage door.
Getting a permit is necessary for any home renovations. Even if some contractors claim you don’t need one, it’s always better to be safe than sorry.
Remember, getting a permit costs less money than having to deal with the consequences of not getting one later.
Conclusion
In this article, we’ve covered the basics of how to convert your garage door to French doors.
Although the installation can get a bit too technical in some steps, it’ll be well worth it once you see the elegant look the French doors will add to your home.
Before even thinking of starting a project like this, you’ll need to get a permit first. This is just to ensure you’re on the safe side.