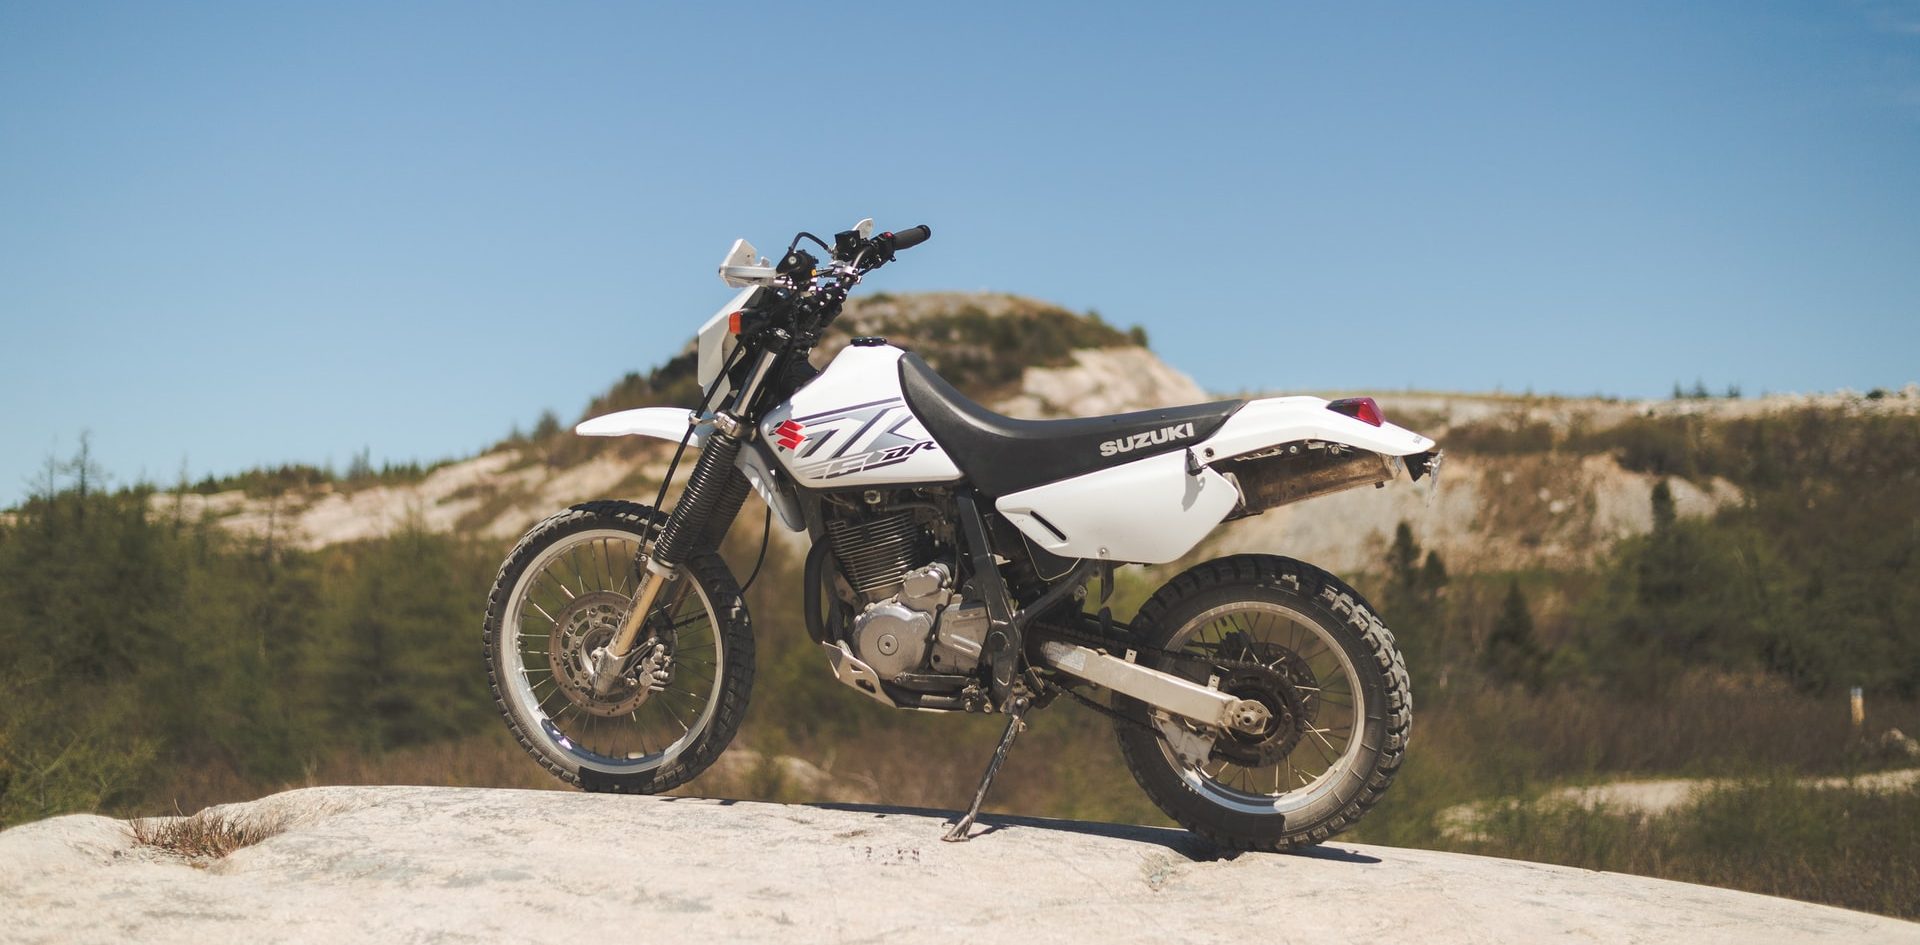
With all the rough stunts, it’s easy for a dirt bike’s paint to get ruined. Fortunately, you can paint the plastic yourself at home. Preparation is the key to painting dirt bike plastics effectively.
Don’t worry; it’s a simple procedure. You’ll need to remove the plastics before painting them. After that, you must clean, sand, and prime them. Now, you can start painting the plastics.
In this article, we’ll show you the process of painting dirt bike plastics. Additionally, we’ll discuss the types of paint to use and some other additional tips. Let’s get started!
How to Paint The Plastics On Your Dirt Bike
Painting your dirt bike’s plastics is an easy process. Here’s how to do it:
Gather the Supplies
You’ll need the necessary materials for the task before you begin. The following is a list of the materials you’ll use:
- Paint
- Water
- Plastic cleaner
- Plastic primer
- 400-grade sandpaper
- A sander
- A rubbing compound
- Plastic sheet or cardboard
Remove the Plastics
To prevent getting paint on other parts of your dirt bike, you need to detach the plastic before painting. Start by removing the plastics from the back of the motorcycle, detaching the side panels and air box lids.
Then, take off your back fender and work your way forward until you reach the front fender.
Be careful where you place your screws and bolts. The size of some bolts may vary from one part to another. Hence, if any of the bolts go missing, you’ll have to buy new ones.
Clean and Sand the Plastics
The next step is to scrub the dirt bike well with a cloth and water. Once you finish cleaning the plastics, you’ll need to start the sanding process. Sanding will aid in the adhesion of your fresh paint to your dirt bike’s plastics.
To start, use 400 grit sandpaper and sand the plastic down in a circular motion. Make sure you’re not sanding the plastic too hard, as this could cause damage.
Another tip is to dampen the sandpaper slightly. This prevents sanding particles from accumulating in the paper and scratching your plastic.
Once done, you can clean the plastics using rubbing alcohol.
Prime the Plastics
Once the sanding is done, it’s time to start priming the plastics. The primer is a crucial aspect of the painting process because it helps coats of paint to adhere better.
To begin, make sure the primer is thoroughly mixed in a container. Then start liberally spraying your dirt bike’s plastics. Allow half an hour for the primer to soak in.
Once it sets in, apply two other layers and wait a day before moving on to the next step.
Paint the Plastics
Now comes the fun part; painting the plastics. Before starting, place a plastic sheet or a piece of cardboard on the surface where you’ll be painting the plastics. This is to prevent the paint from ruining your floor.
Begin spraying the paint on the plastic with a spray gun. To achieve a smooth appearance, make sure to paint the plastics evenly. For optimal results, apply two to three coats of paint. Once you finish, allow a day for the paint to set.
After a day has passed, double-check the plastic for any areas you may have overlooked.
For an extra smooth look, you can wax your bike. This will give a shine to your bike and also protect the exterior.
Types of Plastic Paints to Use
It’s important to know that not all types of paints can work well with a dirt bike’s plastic. Some paints are more suitable for use on plastic than others. It’s preferable to use paint made specifically for plastics.
Here are some types of paints you can use:
Acrylic Paint
Acrylic paint is one of the popular types of paint. It’s water-based paint that’s versatile and durable.
Because acrylic dries fast and is easy to apply, it’s a good choice for painting plastics. It’s also soft enough not to peel, but firm enough to produce a high-gloss look.
Enamel Paint
Enamel paint is a long-lasting oil-based paint that offers a glossy finish to the surface. When compared to acrylic paint, it takes a longer time to dry. It does, however, create a long-lasting sheen that can endure wear and strain.
The paint is also moisture-resistant, making it ideal for rainy days.
Spray Paint
Spray paint is another alternative, but one must use it with caution. Make sure you buy spray paint that’s intended for plastics. You should test it first before spraying it on your bike to ensure it’s of high quality.
Spray paints are great because they dry rapidly, can cover large surfaces, and are simple to use. Our recommendation is the Krylon Fusion, as it comes in many different colors and styles.
Tips For Painting Your Dirt Bike Plastics
While the procedure is simple, there are a few things to bear in mind. Here are some extra helpful pointers.
Avoid Using Cheap Paint
The paint you buy for your bike’s plastics should be a long-term investment. Thus, avoid using low-cost paints.
Cheap paints, such as the kind you’d find at a retail shop, won’t work on your dirt bike well. They’re unlikely to be long-lasting, and may easily peel if they come into contact with anything.
Furthermore, the cheap paint may give your bike a coarse and stiff appearance.
Spray Paint in an Open Area
You should spray paint in a well-ventilated or open area for your safety. If someone comes into contact with the fumes for an extended period of time, they may get some negative side effects. The vapors might irritate the eyes, nose, and throat, as well as induce headaches.
Furthermore, when fumes are inhaled in a large amount, they may cause asphyxiation.
Wash and Wax Your Bike After Painting
Once you’ve finished painting the plastics, give them a good wash. Rinsing the plastics will improve the paint’s adhesion and make your bike look shinier.
Following that, you should apply wax. It can extend the life of your bike’s paint and make it look new. Additionally, a thick layer of wax polish will protect the paint on your bike from rough weather.
Wrap Up
Painting dirt bike plastics has never been easier. Simply remove the plastic, clean and prime them. Once done, you can start painting the plastics.
Keep in mind, however, that not all paints are suitable for this process. To achieve good results, purchase plastic-specific paint. It’s advisable to use acrylic, enamel, and high-quality spray paint.
Remember to avoid using low-cost paint and spraying in an exposed location. Now, your ride looks brand new. Happy racing!