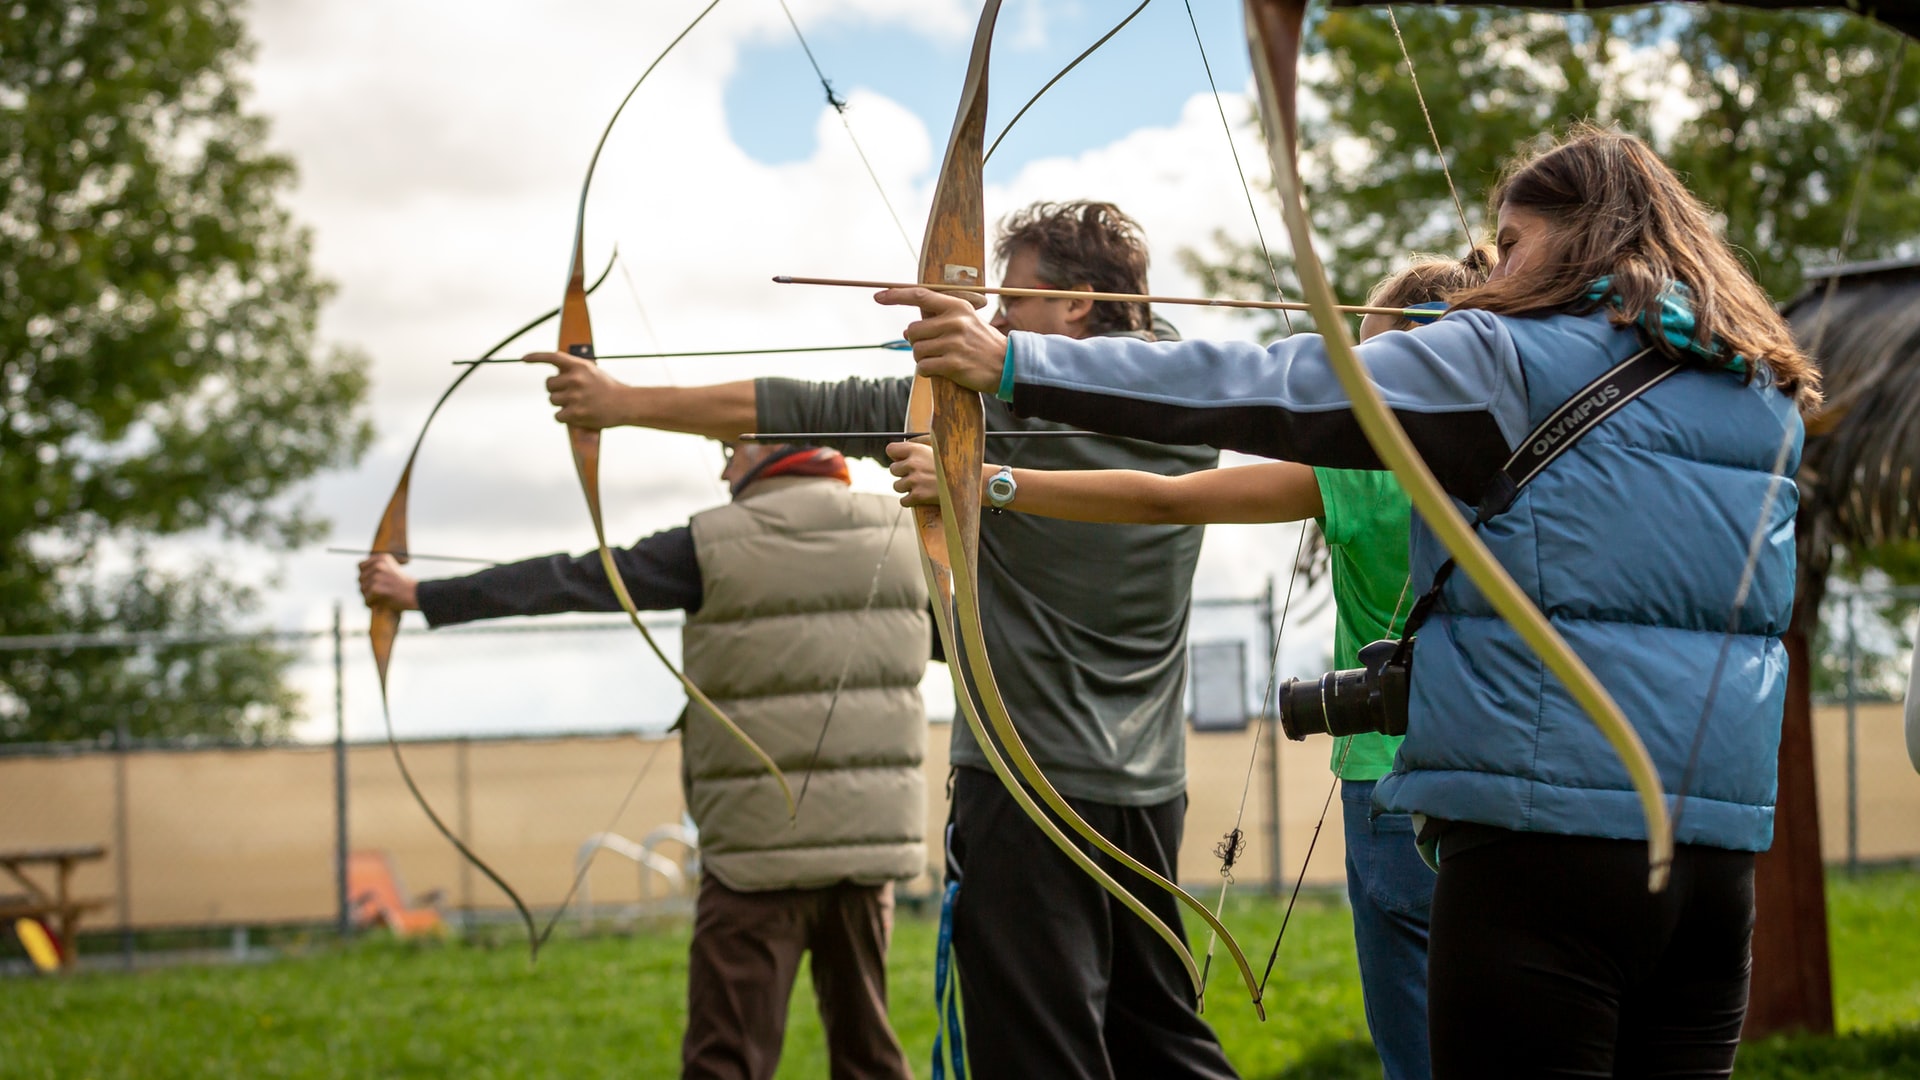
Bowhunting is one of the most exciting activities you can partake in. It’s intimidating at first, but once you get the hang of it, you’ll feel as cool as Hawkeye or Robin Hood!
Just like any activity that depends on accuracy, you need to regularly tune the bow to keep it in top shape. But this begs the question: what are arrows shot from untuned bows likely to do? Is tuning really necessary, or can you go without it?
Let’s find out!
What Are Arrows Shot From Untuned Bows Likely to Do?
Tuning is a process in which adjustments are made to the bow’s arrows, arrow rest, cam timing, and cam position to improve its overall shooting accuracy.
Tuning a bow requires a lot of time and finesse, so some people don’t bother with it. However, arrows shot from untuned bows won’t fly as straight as arrows shot from tuned bows. They also don’t fly as far.
The arrows may likely porpoise (move up and down) or fishtail (move side to side), resulting in one of two scenarios: the arrow might go off course and hit an unintended target, or miss the target completely. Both can potentially be deadly, especially if shot in a professional setting with an audience.
Untuned or poorly tuned bows don’t exert sufficient amounts of kinetic energy for their projectiles, making them useless at long-range and precision shooting.
Is Tuning a Bow Really Necessary?
Tuning is one of the most important aspects of using a bow. If you skip the tuning process, you can say goodbye to accuracy and safety. So, yes, it’s absolutely necessary.
An untuned bow is similar to an untuned guitar: it works, yes, but not as well as it should.
Tuning a bow to perfection is a goal every bow user should have. It helps with accuracy, speed, repeatability, and proper kinetic energy/momentum. The bow will be more forgiving, as well. With it, you’ll feel more confident about your equipment and your skill to shoot a target.
How Do You Tune a Bow?
There are multiple ways to tune a bow, including paper tuning, French tuning, torque tuning, and even tuning with machines.
The method we’ll show you today is paper tuning, a technique in which an archer shoots an arrow through paper and proceeds to adjust the placement, cam lean, and cam timing to achieve a perfectly straight hole through the paper.
Step 1: Adjust the Draw Length and Weight
Before you go about tuning your bow, you’ll first need to set the bow’s draw length.
If the bow feels tense at full draw, your draw length is either too long or too short.
The draw arm elbow must align with the arrow at full draw, and the draw arm must solidly anchor somewhere along the front of the earlobe, particularly on the back of the draw.
Adjust the length accordingly until you find the length you’re most comfortable with, making sure to follow the guidelines mentioned.
As for the draw weight, you should be able to draw the bow without raising the pin more than several inches above the provided target. If that’s not the case, you’ll need to reduce the draw weight until drawing is much smoother.
Step 2: Prepare a Paper Frame
Frame a piece of paper several feet in front of an arrow backstop. Any paper will do, but for best results, use a large sheet with at least 24 inches on each side. Also, make sure it’s thin enough to tear straight through with an arrow.
If you don’t have a frame to put the paper in, make your own from cardboard.
Step 3: Begin Tuning
With the frame in place, grip the bow exactly as you normally would and shoot the arrow while standing approximately 5 to 10 feet away. Shoot firmly and use a good shooting form, lest you get inconsistent results.
Once you’ve shot the bow, examine the arrow’s hole. If the arrow made a neat “bullet-hole” tear (i.e., a hole with three evenly centered vane marks), your bow probably won’t need much tuning. This indicates that the arrow was perfectly straight during flight.
If the vane marks are thick and uneven, adjust the nocking point depending on the appearance of the hole.
If the vertical tear is long and thick above the entry point, raise the nocking point or lower the D-loop on the bowstring. For a low tear, lower the nocking point or raise the D-loop on the bowstring. Do proper adjustments until the high or low tear is completely eliminated.
Once you’ve adjusted the vertical tear, you also need to adjust the horizontal tear. For tail-left tears, move the arrow rest slightly to the right. For tail-right tears, move it to the left.
Step 4: Shoot Again
Once you’ve adjusted your bow, test it again until the holes are small and round, surrounded by even lines. Make adjustments as necessary. If the holes are even, move further away (about 40 feet) and shoot again.
The goal here is to get consistent well-shaped tears regardless of the distance.
Tips to Follow When Tuning a Bow
To successfully tune your bow without issues, follow these tips:
- When testing the bow, use arrows with the same length, diameter, spine, and type to get consistent results. Aluminum arrows shoot differently than carbon arrows, and long arrows shoot differently than short arrows.
- If you can’t quite determine the right arrow stiffness, measure the bow’s weight with a draw weight scale and compare it to the standard arrow weight range.
- Don’t overtighten any screws, even if it feels “right.” The pressure may cause the bow to crack and break, forcing you to repair or replace the bow entirely.
Final Thoughts
When an arrow is shot from an untuned bow, it’ll likely miss the target completely or hit an unintended target because of its poor accuracy, momentum, and speed. Always tune your bow before using it to guarantee your shooting effectiveness.
A lot of trial and error is involved in tuning a bow, especially if it’s your first time doing it yourself.
If you’re not confident with your tuning skills, there’s no shame in asking for a professional’s help. Tuning usually costs anywhere between $35 to $100 depending on your area. That’s not a bad deal for improved performance!