So, you’ve recently bought a pop-up camper. Congratulations—it’s a fantastic investment for travel-loving families! But now that you have your camper, you’re not quite sure how to store them. Can pop-up campers be stored outside? Or should they be kept inside the garage, protected from the elements?
In this article, we’ll discuss the best ways to store your pop-up camper and protect it from external damage. Let’s dive right in!
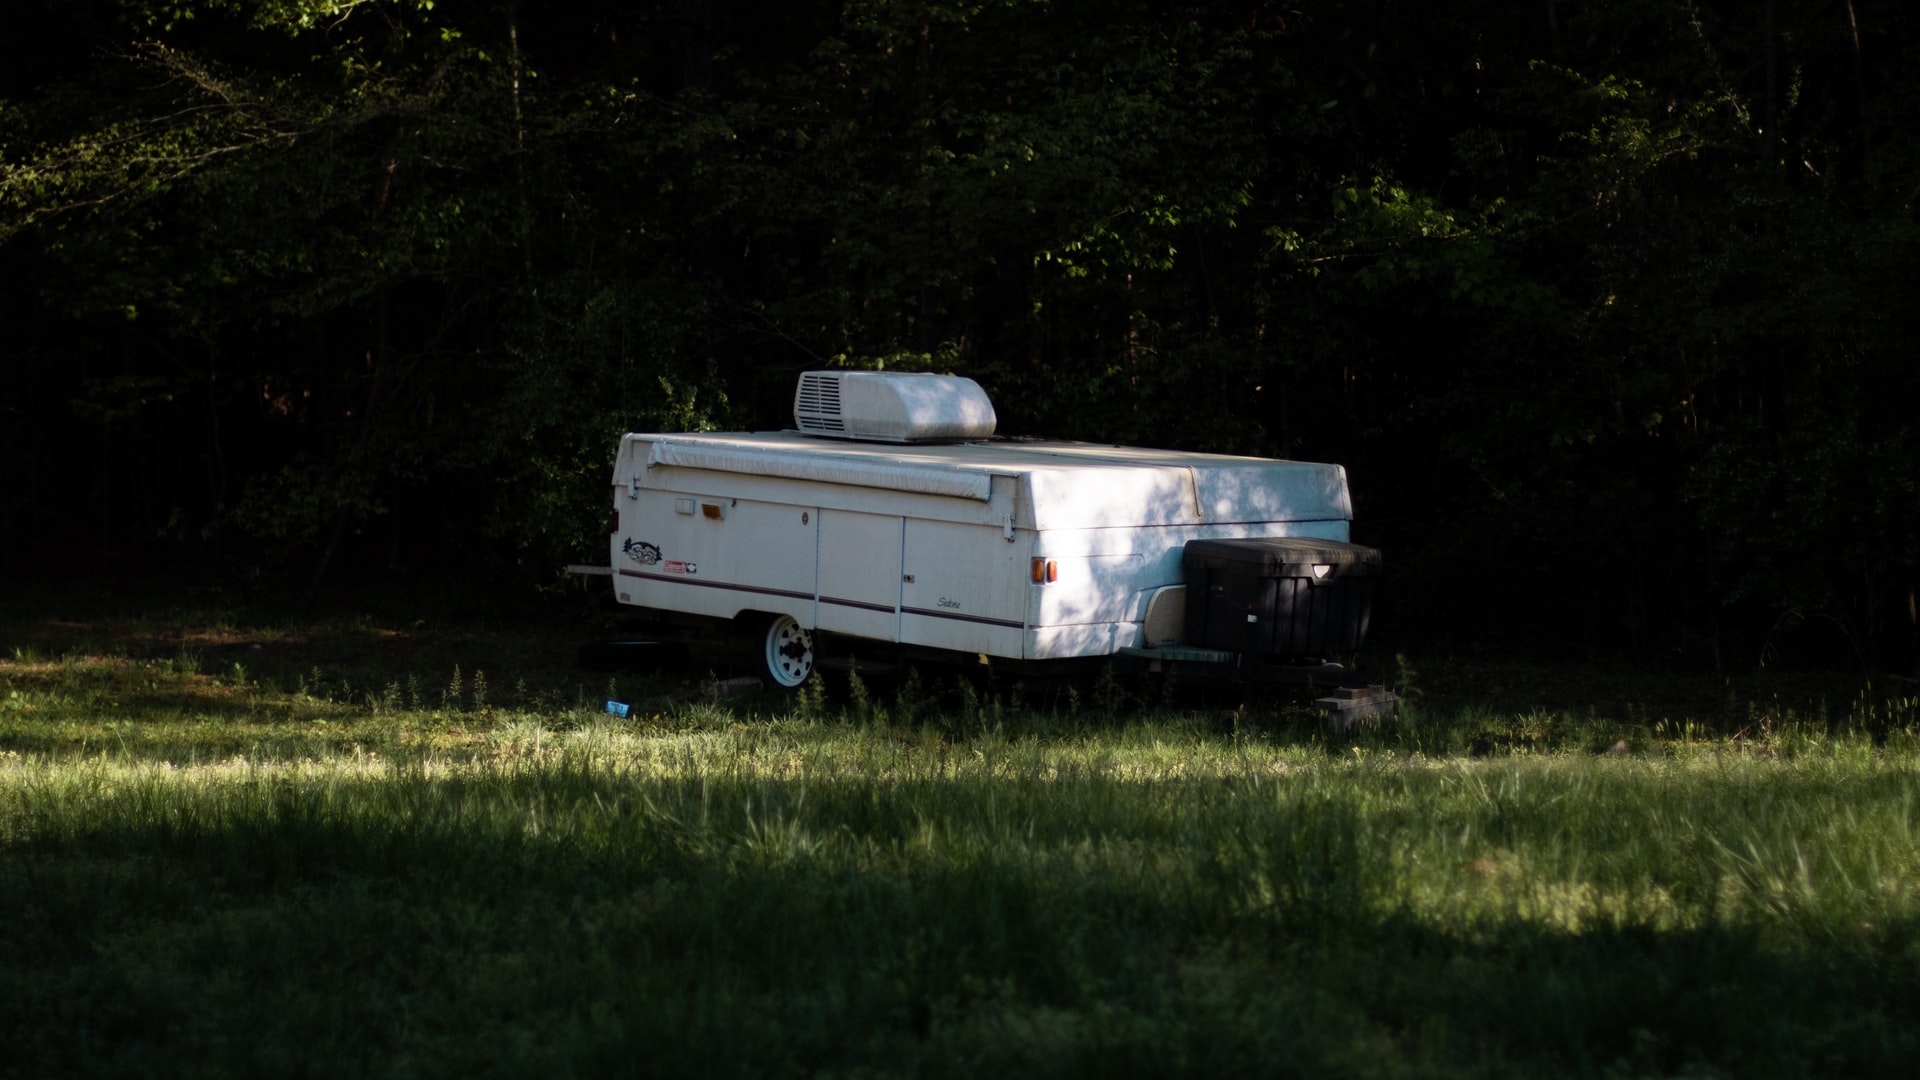
Can Pop-up Campers Be Stored Outside?
Yes, pop-up campers can be stored outside—but with a few caveats.
If you’re planning to store your pop-up camper outside, you’ll first have to seal the holes on the underside of the camper to prevent wild animals from getting in. Then, remove the battery and store it inside your home to avoid weather-related battery damage and theft.
If you have a Porta-Potty, ensure the holding tank is empty before leaving the camper outside. Drain both fresh water and black water from the tank, then pour some antifreeze into the fresh water holding tank. This way, the inside of the camper won’t smell when you take it out for a ride after months of storage.
Finally: cover the pop-up camper with a breathable, waterproof tarp. Cover the vent openings, too, as well as the hot water heater, refrigerator, and furnace. If possible, cover the tires, too.
5 Tips for Storing a Pop-Up Camper Outside
Here are some of our top tips when storing your camper outside:
1. Clean the Camper
Before storing your camper outside, make sure you thoroughly clean it first. Clean both the exterior and the interior.
Start with the roof; sweep away dirt and debris with a broom or a leaf blower. Then, use a pressure washer (on low) to remove the remaining dirt and debris.
Once the roof is clean, wash the front, back, and sides of the camper. Start at the top of each side and work your way down, just like you would when washing a car. Don’t forget the wheels, tires, and underbelly of the camper, too!
When stored outside, dust can easily build up and cause damage to the wheels and brakes. Likewise, soil and mud cause rust, mold, and mildew, which can damage the camper.
While you’re at it, inspect the pop-up’s awning for tears and wear. If you notice any damage, regardless of how small, fix it right away. Then, clean the canvas with a gentle cleanser so it doesn’t damage the canvas’ waterproofing capability.
2. Winterize Your Camper Before Winter Comes
If you’re planning to store your pop-up camper outside for several months, make sure to “winterize” your camper; i.e., prepare it for cold weather.
Sometimes, winter can cause more damage to a pop-up camper than summer. It can damage the camper’s plumbing system, weaken the battery, and cause problems with the camper’s sealants among others. For this reason, you should always prepare your camper for winter storage to prevent temperature-related damage.
Here’s how to winterize your pop-up:
Drain Water
Drain all the water from the camper’s water tanks, including the water in the hot water heater. If water is left in the camper, the water will freeze and expand, which can damage your pipes.
To ensure all water is removed from the pipes, blow air into the water lines with a portable air compressor.
If possible, get one that holds at least 2 gallons of air so you have enough to flush out all the water in the system in one go.
Use Anti-Freeze
To prevent the pop-up’s plumbing lines from breaking, pour a bit of antifreeze into the camper’s sink, shower drains, tanks, toilets, and pipe traps. You’ll need about two to three gallons of RV antifreeze to fully winterize your camper.
Lubricate Moving Parts
Lubricate the camper’s moving parts (door, windows, beatings, lift system, bed slides, etc.) with a good cold-weather lubricant to maintain its flow and viscosity even at subzero temperatures.
3. Remove Food Items
This might seem obvious, but some people actually forget to remove food products from the fridge/camper storage when storing the camper.
Even sealed foods and snacks with a long shelf life must be removed, as rodents and insects can easily chew through the packaging.
Empty drink cans and any remaining food bits must also be properly disposed of as they can encourage the growth of mold, fungus, and rust.
Once you’ve cleaned out the refrigerator, keep the door slightly open to prevent mold and foul odor.
4. Level Your RV
Leveling blocks, also known as stabilizer pads, jack pads, and stacker blocks, are tools that level your pop-up camper on sloped surfaces.
Leveling your camper removes unnecessary stress on your pop-up’s frame. They keep your jacks from sinking into the ground and damaging your wheels.
There are three main types of leveling blocks: plastic leveling stacker pads, Andersen levels, and utility blocks. If you don’t have these blocks to hand, you can make your own wood blocks with a table saw.
5. Put Away the Battery
Batteries won’t fare well in extreme weather. If they get too hot or too cold, they’ll quickly lose voltage capacity. So, if you’re planning to store your pop-up camper outside, it’s a good idea to remove the batteries and charge them from time to time so they won’t lose their charge.
Try not to let the charge drop below 80%, as batteries that are drained to less than 50% will take longer to recharge and might therefore suffer from overuse management. Remember that batteries lose 5% to 8% of their charge per month even when they’re not in use.
Final Thoughts
If you don’t have space in your garage or don’t have a garage to begin with, you can safely store your pop-up camper outside. However, make sure to follow precautions when doing so.
Drain out all the water from the camper’s tanks, including the water in the heater. Remove food items and thoroughly clean the camper inside and out. Finally, and perhaps most importantly, cover the pop-up with a durable waterproof tarp to avoid weather damage.