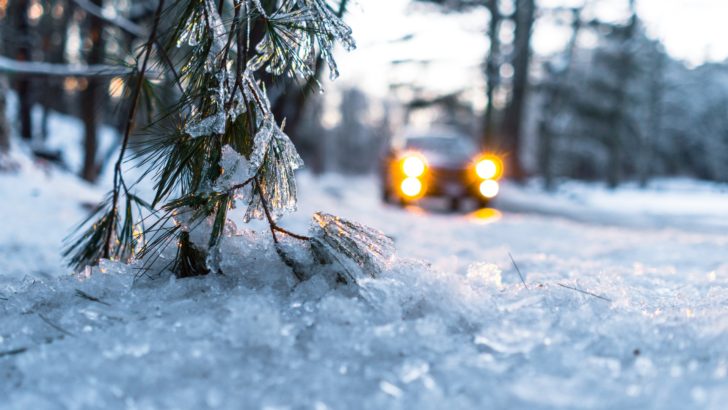
As the winter season approaches, the nights become longer and the days shorter. Yet, there’s still plenty to do outdoors during this time of the year.
That being said, cold weather camping isn’t for everyone, so most of us will have to figure out how to winterize our vehicles at some point.
This begs the question, how to winterize a pop-up camper?
In this article, we answer this question in detail by highlighting 10 steps you need to follow to winterize your pop-up camper effectively.
10 Steps to Winterize Your Pop-Up Camper
With the right equipment and process, winterizing your camper is easy and won’t take you any more than 20 minutes. Here are the steps you need to follow:
1. Use Wheel Blocks for Parking
This is a basic winterization procedure that is often skipped. Simply put, you need to use wheel blocks if you’re parking your camper on anything other than hard concrete.
Indeed, the ground on which you’re parking is now solid due to the freezing temperature outside, but the frigid weather won’t last forever.
The ground will eventually thaw, and if it rains or snows, the hard dirt would become mud, and you don’t want your camper to be buried in mud. So, be sure to use some wheel blocks.
2. Prep the Camper’s Tongue Hitch
Next, you should reposition the tongue end before putting your camper away for the winter. It must be as low as you possibly can.
This will prevent water from gathering when it rains or snows, which will inevitably happen. That will keep your hitch from rusting or corroding.
3. Drain All Camper’s Water Systems
The most crucial step in pop-up camper winterization is draining all of the water from the tanks, including the fresh water tank and water heater.
If there’s any water left in the pipes throughout the winter, it will freeze and expand, causing the pipes to break if they’re too small to handle the expansion.
Before draining and cleaning all the pipes, make sure the water heater is off. Then, turn on all faucets to make sure that every last drop of water has been drained.
When adding antifreeze to the system (approx. 8 to 16 oz), make sure that it gets to each faucet.
Pro Tip: It’s advisable to install a water heater bypass kit when preparing your water system for antifreeze. This prevents antifreeze from being wasted on the water heater.
4. Remove the Batteries and Keep Them in a Dry Place
Your camper’s battery is its heart and soul. You can’t use any of its features if your battery runs out. So it’s critical to take care of your batteries.
To do that, remove the negative cable first when disconnecting the batteries. Labeling your cables will also help you in reconnecting them easily when you take out the RV in the spring.
Single batteries are much easier to winterize. Keep fully charged batteries in a cool, dry place. Additionally, avoid keeping the batteries on a concrete floor. This can slowly discharge its power.
If you are leaving your batteries in your RV, disconnect the negative battery cable. Throughout the winter, check the battery charge level regularly and recharge as needed.
5. Apply Wax on the Camper’s Exterior
Winterizing your camper means shielding it from all the elements. And to protect the exterior, you need a good quality wax or a protectant formula that is compatible with your RV.
First, thoroughly clean the outside while looking for cracks or split seams. If you discover any cracks while cleaning, fill them with a sealant made specifically for your RV’s materials. Then, apply wax to the entire exterior.
6. Lubricate Parts of Your Camper
Not using any parts of your camper is not an excuse to let them dry. Lubricants should be applied to parts such as the hitches, locks, bed slides, and other moving parts.
You need to use the right amount of lubricant to avoid a sticky mess. Also, it’s recommended to apply lubricant to these parts now and then. Though depending on where you’ve stored your RV, this isn’t always possible.
As long as you lubricate these parts well, they will surely survive the winter.
7. Make Sure to Unplug Everything
Since you’re taking the battery with you, leaving electronic appliances inside the camper is still not a good idea.
Make sure to unplug everything, including the fridge, small counter appliances, and even alarm clocks. There’s a possibility that these might break, and replacing them will cost you a lot.
8. Clean and Replace the Aircon’s Filter
You should also clean the outside of your air conditioning unit while cleaning the exterior of your RV and its awning.
Before storing your RV for the winter, clean and replace the air conditioner’s filters. The idea is to leave your vehicle tidy and dry so that there are no surprises in the spring.
9. Clean and Dry the Awning
Next, you must clean and dry the awning while you prepare the exterior of your RV for waxing.
To avoid mold buildup, it’s crucial to ensure that the awning cloth is fully dry. Nothing is worse than the foul smell of mildew.
10. Tidy Up the Interior
Since your camper will be parked during the winter, it’s best to keep it as clean as possible. You don’t want any surprises by the time spring comes.
When we say clean, we mean sanitize! In addition to general cleaning, remove all clothing and blankets that will be stored at home. For optimal airflow, lift couch cushions and mattresses and prop them against each other or walls.
Any leftover food and beverages should be taken out as well. To add, try to reduce or eliminate any hiding places in which bugs and mildew can thrive.
Summary
So, how to winterize a pop-up camper?
To winterize your camper, you must take out anything that could harbor mold or mildew, remove the batteries, and lubricate the moving parts. It’s also very important to drain the camper’s water systems to prevent expansion-related damage, which can be costly to fix.
All in all, if you follow the above-listed steps, your camper should be in pristine condition for the spring and you won’t have to do much but some light dusting.
Good luck!