Cargo work vans are known for being quite loud, without luxury or comfort in mind. The large layers of sheet metal add to the mix to create the ultimate noise maker when going down the highway. A noisy vehicle isn’t ideal for most people, or when there’s no layer of sound protection from the outside world to every little footstep or wildlife. A simple and cheap solution many delivery drivers use is a pair of earplugs. Although if you’re building out an entire van, it’s worth considering your noise reduction options.
Soundproofing, sound deadening and insulating your van is an important step in the camper van conversion process if you want to go all out. While working in a limited amount of space in a van, it’s important to surround the wall cavities, floor, and ceiling. These key areas will limit the amount of sound and add a good level of insulation for keeping the van cool in the summer and warm in the winter.
What You’ll Need
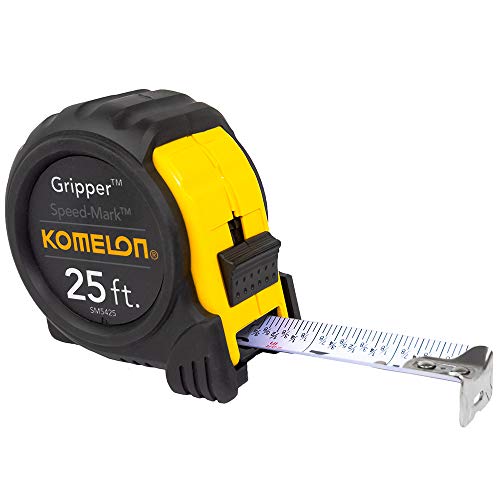
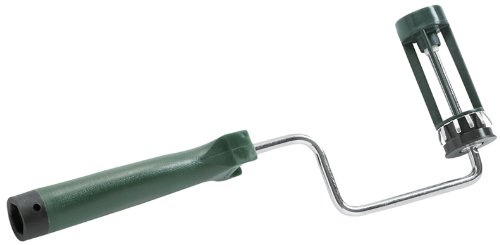
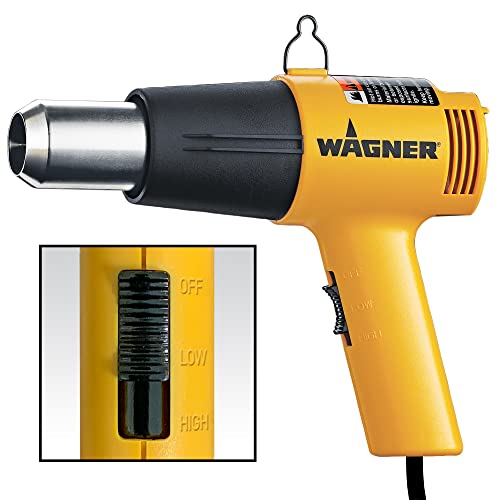
In order to outfit your van, you’ll need a few materials:


These acoustical mats are built with the rattletrap design. This thicker and flexible mat has an adhesive back on it, which allows you to press it in place quite well. With these mats, they also conform well to a curved shape or different forms in the van. This is perfect for the wheel wells and other hard to reach areas. The rest of the supplies will help you cut and apply the mats throughout your vehicle.
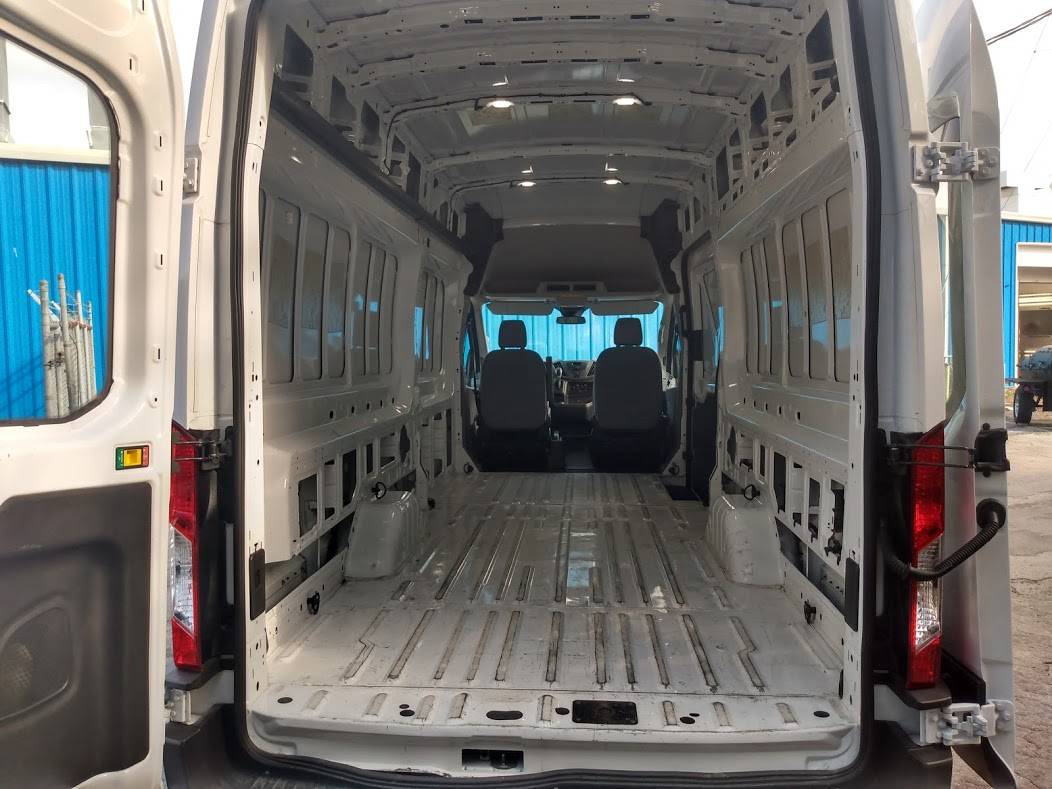
Areas to Apply Sound Deadening Material
100% coverage is not necessary for sound dampening materials to work. With at least 25% coverage you’ll achieve vibration reduction. The whole “more is better” does not apply in this case as you’ll start to lose efficiency and spend more money where you don’t need to. Not to mention that spray foam and other insulation, along with your bedding, kitchen, and curtains act as a sound deadener as well. The key areas to apply the material include:
- Walls
- Floor
- Ceiling
- Doors
- Cab
- Wheel wells
- Under the hood
How to Install Sound Deadener
Sound dampening mats are easy to install with their peel and stick applications. As this should be one of the first steps in your van build, these materials will attach directly to the metal of your van. This goes beneath any layers of insulation or moisture barriers. As a reminder, you do not need to cover the entire surface for it to work.
The following YouTube video provides a solid visual if you prefer to see this process in action (step by step list below the video):
1. Clean your van
It’s important to wipe down and clean all areas where you plan to place the sound deadening material. You’ll want to remove any grease, dirt, and dust from your vehicle. This way, the mat’s adhesive can properly stick to the metal and get a full and smooth application.
2. Measure the surface area and cut
Be sure to take measurements with a sharpie of different parts of your van and cut the material down to fit the surfaces. You’ll want to cut the panels down into strips around any areas with rounded edges. Strips in 6-inch sections are a good way to piece it all together.
3. Peel and stick
To apply the sound deadening mats, it’s as easy as peeling off the back and sticking it to the metal surfaces in your van. Try not to touch the adhesive side for the best results. If you’re doing this project during the wintertime or colder climates, you’ll also want to use a heat gun to loosen the glue and mat. This will make the material more malleable and pliable for curved surfaces.
4. Wheel wells
This is one area you’ll want full coverage. The tires, road, and exhaust sounds produce a lot of noise while on the road. Covering the wheel wells completely also helps to target the source of much of the vibration in your van.
5. Use a roller to ensure the panels are flat
Air bubbles are your enemy in this process. By using a roller you can ensure that any and all air bubbles are removed. You also want to avoid any ripples or creases for proper installation. Pressing down the material with your hands will also make sure that the mats are fully applied and flat. Be careful around the edges as some of the foil panels can be sharp to the touch.
Conclusion
Soundproofing your van is not a necessary step in the van building process. Yet, for under $200 you can greatly reduce the amount of noise in your van. Sound deadening material will reduce road noise and external sounds when you’re trying to sleep. If you’ve got the extra money, then there’s no downside to planning this step into your van build!